Wednesday 22 November 2006

Cider Making Pt. 2.

Apple Prep

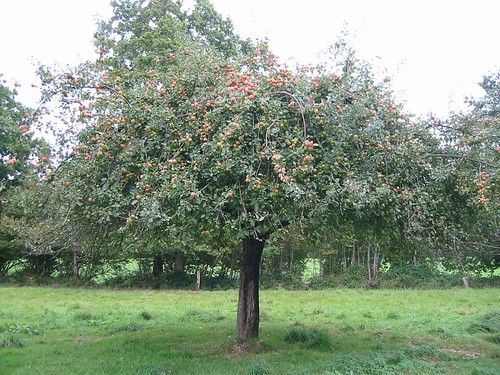
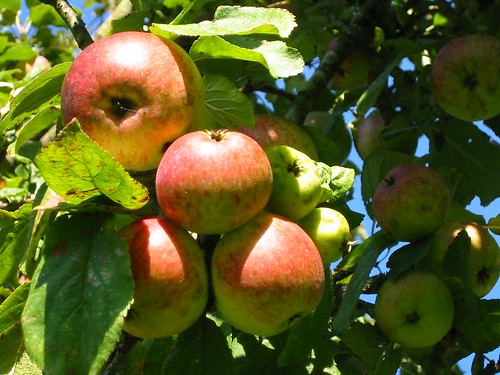
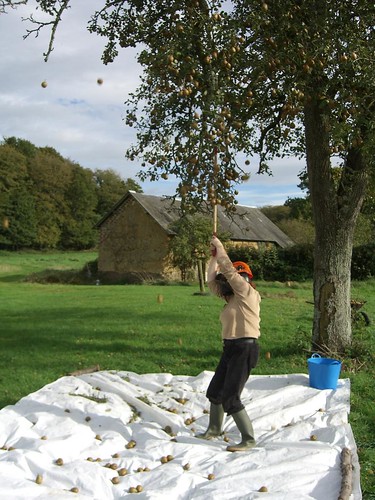
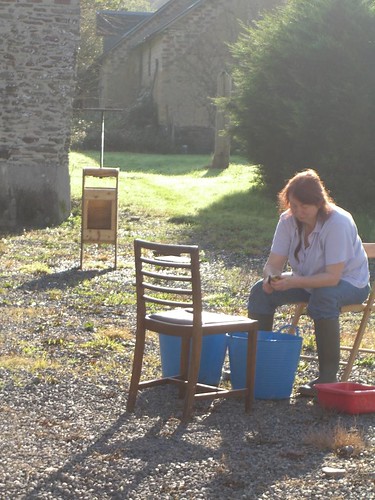
Having gathered about 120 kg of apples we sat down to prepare them. It was lucky that we had the most beautiful weather whilst we did this, it meant we could sit outdoors and soak up the sun as we worked.

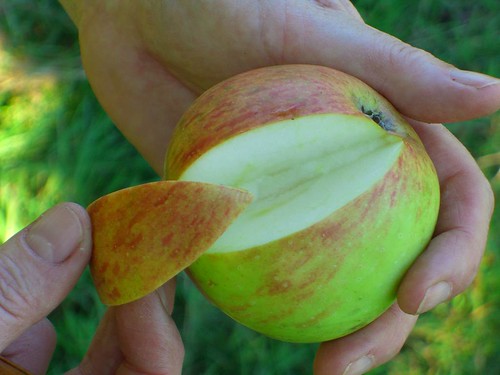
After washing the fruit down with a hose we discarded any rotten apples and cut the rest into quarters and slices to enable them to go through the antique crushing machine in the pressing house. Our hands quickly became blistered even using the supersharp Opinel knives beloved of the french handyman. It took us about an hour to chop two plastic trugs of apples into pieces.

The Scratter

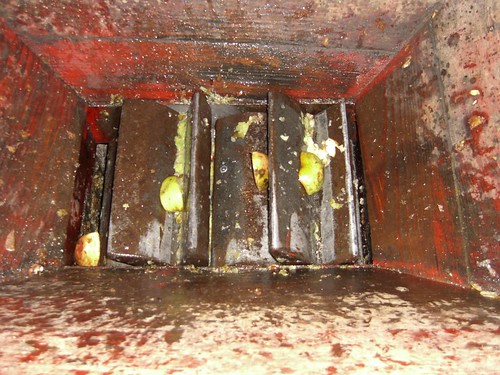
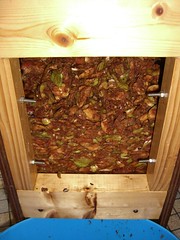
Although the crusher is clearly designed to take a hopper full of fruit and turn continuously either driven by a belt or some more direct sort of motive force we had to turn the teeth by rotating the wheel by hand. This is very hard work and if the apple pieces were too large or the teeth overfilled it was beyond our strength to turn it. The only way to make progress was for one of us to rather pathetically drop the apples bits one by one into the teeth while the other turned the wheel. The apples were put through the scratter twice in an attempt to crush them nice and small for maximum juice extraction. This was exhausting and taking turns it still took another hour to crush two trugs of prepared fruit.

Small Juice Presspressagain

Once we had our nicely crushed pulp it was time to extract the juice. With much regret we decided not to attempt to use the huge ancient press that came with the house - our tiny quantity of pulp would have been lost even if there hadn't been other issues of rot and missing parts to address. We'll have to resolve those problems over the next year whilst gathering bodies to help for a full harvest.

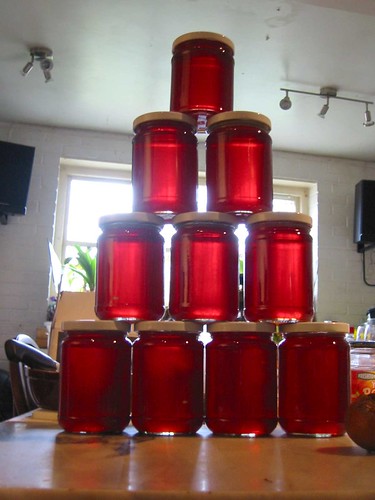
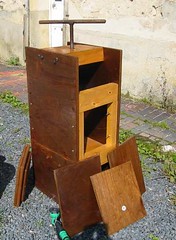
Luckily we have a small press that was crafted by Paul's Dad, originally for grapes from his back garden but sturdy enough and sufficiently capacious to take a trug's worth at a time. As each variety of apple was processed the juice was gathered into a clean container and a minimum amount of camden tablets added to discourage fermentation and kill noxious bacteria and moulds until we were ready to start the ferment. This stage of the process took about another hour per two trugs, with picking making slightly more than 20 hours back breaking work to process the whole lot. Far too exhausting to do all at once we took about 4 days to stage ourselves through the work.

We taste tested each batch as it was done. The juice was muddy brown and not particularly attractive but we needed to know if it was worth our effort to continue. Beatrice was lovely and sweet but Katherine too sharp for comfortable drinking. We thought this was a hopeful sign although we had yet to test the juice for acidity it seemed we might have sufficient variety in our juice to make a good cider.

The next section of this Cider Making blog will show how we tested the juice more formally and the way the ferment was started, watch this space.

Monday 20 November 2006

Cider Making Pt. 1

In the last week of October, using apples from the farm, such equipment as we had and our own hard work Paul and I started to produce what we hope will finish up as 20 gallons of quality Normandy cider.

Cider on the Tree
Picture of Phyllis.

Many of the trees produced fruit, but some of them are clearly biennial bearing and had no fruit and some had finished and fallen before we started so we settled on four varieties that were heavily laden and ready for picking when we needed them. We still don’t know the names of the varieties and were going to send samples to Brogdale for identification but they have let us down. It’s not a cheap procedure and I emailed their information address first to check that there was a reasonable chance the experts could name fruit from France. I had a speedy reply from a PA who said my query had been passed onto the identification team but no reply from them and a reminder sent to the PA has not been answered.

So, we’re still using our working titles for the trees; Beatrice, Katherine, Lisette and Phyllis. Beatrice is a crisp red apple with a light bloom. Her tree was covered in fruit. Katherine ripened slightly earlier, another tasty, slightly acid fruit. Lisette apples are small and golden, quite dry fleshed and with almost the flavour of toffee. Phyllis has similar fruit to look at but the taste is more tannic, not quite so sweet.

Apples
Picture of Beatrice.

It was taking too long to pick the fruit manually and we settled on a system of climbing the ladder, hooking a rake into the branches and shaking the apples down to land on a spread tarpaulin while the other held the steps to stop them falling over. It’s easy enough but apples raining down induce more than thoughts of the theory of gravity and a principle of never looking up was soon adopted. Later on we started using the chainsaw helmet but it did look ridiculous.

Katherine
Picture of Katherine in the hand.

Cider apples differ from eating apples as a good cider consists of a blend of juices, some sweet, some sharp with edges of bitterness and tannin that give a refreshing full flavour to the brew. This means that even though many of them are full of sugar they’re not particularly nice to eat raw. In fact our chosen varieties were all quite pleasant when fully ripe although none of them could compare to a decent Russet or Blenheim Orange.

Lisette
Picture of Lisette.

We worried about this a bit, fearing our finished juice would lack the acidity and tannin necessary to inhibit noxious bacteria and give a good finish to our cider. In order to get reassurance we armed ourselves with indicator papers and a hydrometer to assess the sugar content of our finished juice. We also decided that to minimise risk we would make all our cider of blended juices in the hope that deficiencies in one juice would be compensated for by the excesses of another. This is standard practice in cider making and most commercial brewers work with several apple varieties to produce their speciality.

Picking Pears
We also picked some pears to make some perry.

After the fruits were picked they were washed and prepped ready for the next stage.

To be continued…

Wednesday 8 November 2006

Medlar Jelly

Medlars


Take medlars, ripe, soft and bright and wash them. Then cut into pieces, removing any bruised or damaged parts.

Put the fruit with just enough water to cover them without floating into a large pan and simmer slowly until they become a glorious pulp. Set up a jelly bag and pour the pulp and cooking water into it. Leave until all the juice has dripped through. Don’t squeeze.

For each pint of liquor add 12 - 16 ozs of sugar plus a tablespoon of lemon juice per pint. Make sure all the sugar dissolves and bring gently to the boil.

Boil rapidly till the setting point is reached. When a teaspoonful dropped on a cold plate wrinkles as you push a finger across it, take the pan off of the heat and quickly pot up into beautifully clean warmed jars. Close while hot.

If liked set the jelly in small straight sided moulds and serve as a very sweetly rich pudding.


These fruit came from the “Nottingham” medlar in the garden at Newport Pagnell. There are wild medlars in the hedges in France, fruit much smaller but bearing heavily in this excellent fruit year. It is said that the flavour of the variety Nottingham is only average. It will be interesting to compare this jelly with jelly made from the wild bushes.

Update 10 Dec 2006


This has been quite a popular entry so I though people might like to know how the batch looked when it was finished.

medlar jelly

Not quite as clear as last year's (remember what I said about not squeezing the jelly bag) and for a horrible moment I thought it wasn't going to set after I'd put it in the jars, but everything turned out fine.

Update 04 November 2007


Last year's jelly stored well and is still tasty and spreadable now but the beautiful clearness has turned to an unappetising murky brown so I recommend you don't make too much of this and give a lot away as presents.

Have now made the jelly for this year and I was particularly careful not to crush the fruit even while it was still in the pan. With a very fine jelly bag this gave an extremely clear juice but I think it may have reduced the overall pectin content because this time I did have to reboil it.

I was in a bad mood and a hurry, gave it only 20 minutes of serious boil, poured it into pots and hoped for the best but the next day it was as runny as a runny thing. So there wasn't much else I could do but tip it back into the pan and boil it up again. After ten minutes more boiling it was setting, almost too well and is back in its pots looking ruby clear and glorious.

Thursday 2 November 2006

Fungus Foray

It's been a fine autumn for mushroom hunting.

In the fields near to the house we have shaggy inkcaps (picture taken by Paul) and puffballs. Sadly we've not found any field or horse mushrooms yet.

Shaggy Ink Caps

On the margins of the forest there are parasol mushrooms, not many so we left them to spread their spores for next year.

parasol

Once you enter the forest there are plenty of fungi to examine but the place is so severely hunted by dedicated mushroom lovers that most of what is easily visible is likely to be inedible or frankly poisonous.

stinkhornmanyzonedamanita

These woods are good for ceps and on our last long walk we found Horns of Plenty, delicious fried with a small crushed clove of garlic and served on warmed french bread to soak up the juices.

trompettes